今回の講座ではテトリスブロックを枠の外に連射したときのバグの解決から始めていきましょう。
そして、テトリスの肝となる”ブロックユニットの回転処理”の開発を行います。
ここまでくるとかなりVRシューティングテトリスが形になってきますね。
前回の記事↓

【微修正】フィールド外にブロックユニットを発射してしまったときの対処
前回までの実装では、Fire()でブロックユニットを発射してフィールドに当たらなかった場合にゲームが進行しない状態となっていました。
これに対処するため、発射してから60フレームの間フィールドに当たらなかった場合にはGameStatusをShotに戻るようにしていきます。
まずは、Field.csのコードに以下を定義して下さい。
|
1 2 3 4 |
// Wait状態の待ちフレーム数 int waitCnt = 0; // 最大待ちフレーム数 const int MAXWAIT = 60; |
そして、Update()を以下のように書き換えましょう。
|
1 2 3 4 5 6 7 8 9 10 11 12 13 14 15 16 17 18 19 20 21 22 23 24 25 26 |
void Update() { switch (GameStatus.status) { case "Shot": waitCnt = MAXWAIT; break; case "Wait": waitCnt--; //1秒ブロックが当たらなかったらShot状態に戻す if( waitCnt<=0 ) { GameStatus.status = "Shot"; } break; case "Fall": Debug.Log("Fall Stauts"); if (!FallBlocks()) { GameStatus.status = "Shot"; } break; case "Delete": break; } } |
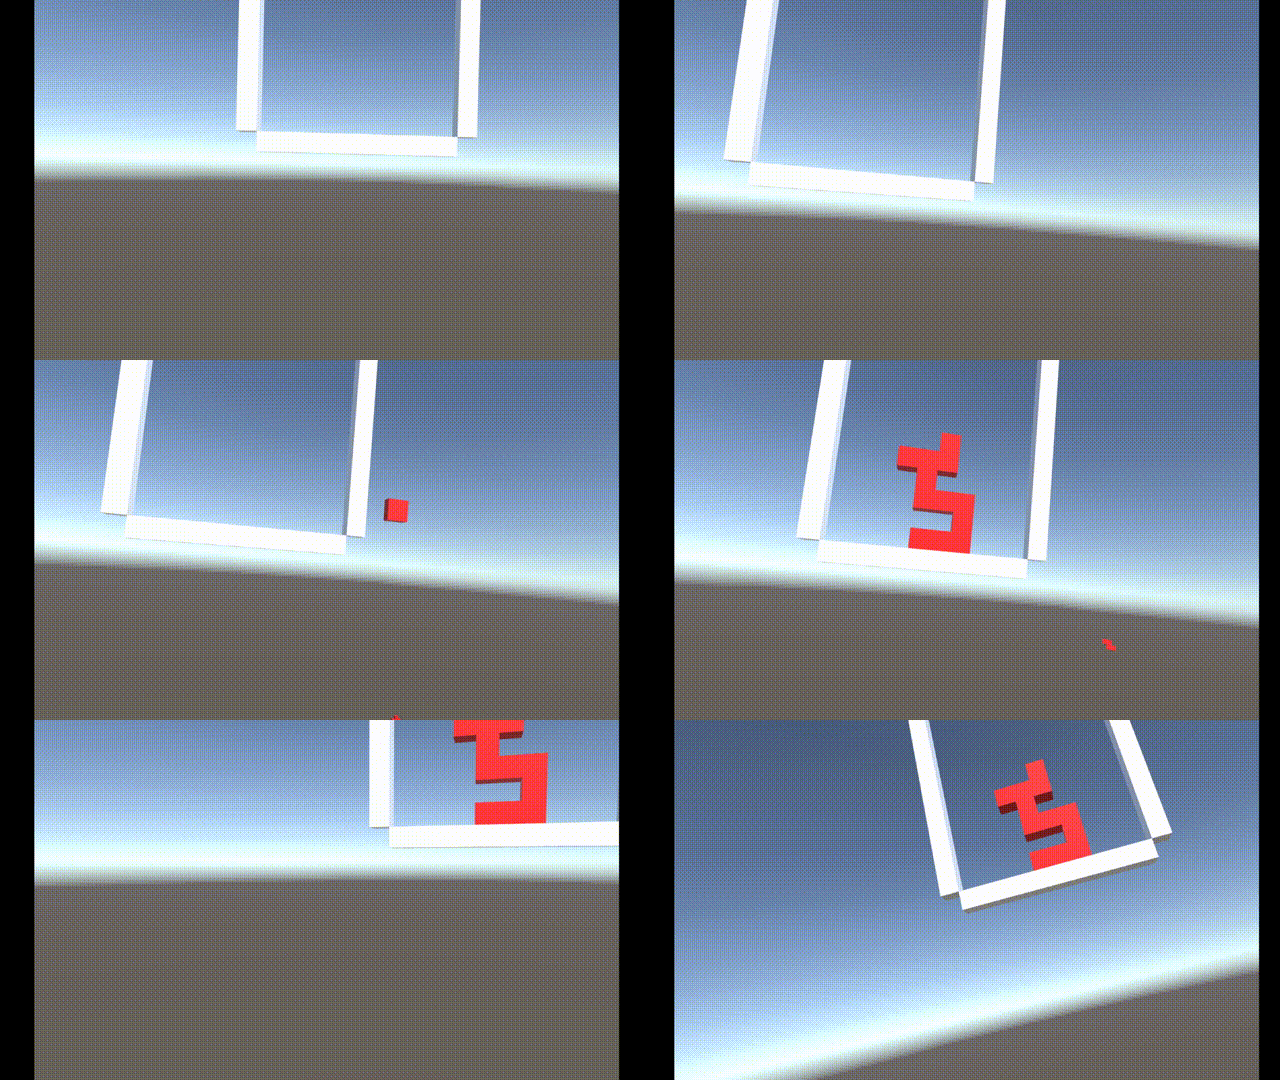
これで、実装完了です。実行してみましょう。ブロックユニットがフィールドに当たらなかった場合に、GameStatusがShotへ戻るようになる様子が確認できます。
ブロックユニットの回転
次に、発射前にブロックユニットを自由に回転できるようにします。
現状では、発射するブロックが発射するまでわからなくなっているため、発射前にCreateBlock()で生成するようにします。そのため、BlockBazooka.csにブロックユニットを保持するshotObj変数を追加して、Start()を以下のように記述してください。
|
1 2 3 4 5 6 7 8 9 10 11 12 13 14 15 16 |
//発射するブロックユニットを定義 GameObject shotObj; void Start() { // 左右どちらのコントローラかを取得 controller = GetComponent<OVRControllerHelper>().m_controller; // ブロックユニットの種類を作成 CreateBlockType(); //ブロックユニットを事前に生成 shotObj = CreateBlock(Random.RandomRange(0, 7)); shotObj.transform.parent = transform; shotObj.transform.localPosition = Vector3.zero; } |
最後の3行で、「ブロックユニットの生成→親をコントローラに設定→ブロックユニットの表示位置をコントローラの位置」を実装しています。
さらに、発射した後に新しいブロックユニットを生成したいため、Update()を以下のように修正してください。少し操作性が悪いと感じたためボタンの割り当てを次のように変更しています。
| ボタン | 操作 |
| トリガーボタン | ブロックユニットの発射 |
| Aボタン | ブロックを右回転 |
| Bボタン | ブロックを左回転 |
|
1 2 3 4 5 6 7 8 9 10 11 12 13 14 15 16 17 18 19 20 21 22 23 24 25 26 27 28 29 30 31 32 |
void Update() { switch (GameStatus.status) { case "Shot": //A/Xボタンを押したらブロックを発射 if (OVRInput.GetDown(OVRInput.Button.PrimaryIndexTrigger, controller)) { Fire(transform.position, transform.forward, shotObj); //新しいブロックユニットを生成 shotObj = CreateBlock(Random.RandomRange(0, 7)); shotObj.transform.parent = transform; shotObj.transform.localPosition = Vector3.zero } if (OVRInput.GetDown(OVRInput.Button.One, controller)) { RotateBlockUnit(true); } if (OVRInput.GetDown(OVRInput.Button.Two, controller)) { RotateBlockUnit(false); } break; case "Wait": break; case "Fall": break; case "Delete": break; } } |
RotateBlockUnit()はブロックを回転させる関数になります。
まず、BlockUnitを回転させる方法としては、回転行列を利用するのが一般的です。今回は簡単のため、右回転する際、元の座標(x, y)は回転座標(X,Y)としたとき, X = -y, Y = xとなることだけ理解しておけば問題ありません。では、RotateBlockUnit()を次のように実装します。今回の実装では、第一引数のisRightがtrueのとき右回転、falseのとき左回転するように実装しています。そのため、Aボタンを押したときはRotateBlockUnit(true)を、Bボタンを押したときはRotateBlockUnit(false)を実行させるようにしています。
|
1 2 3 4 5 6 7 8 9 10 11 12 13 14 15 16 17 18 19 20 21 22 23 24 25 26 27 28 29 |
void RotateBlockUnit(bool isRight) { if(isRight) { for (int i = 0; i < shotObj.transform.childCount;i++) { // 右回転 Vector3 tmp = shotObj.transform.GetChild(i).transform.localPosition; int x = shotObj.transform.GetChild(i).GetComponent<Block>().x; int y = shotObj.transform.GetChild(i).GetComponent<Block>().y; shotObj.transform.GetChild(i).transform.localPosition = new Vector3(-tmp.y, tmp.x, 0); shotObj.transform.GetChild(i).GetComponent<Block>().x = -y; shotObj.transform.GetChild(i).GetComponent<Block>().y = x; } } else { for (int i = 0; i < shotObj.transform.childCount;i++) { // 左回転 Vector3 tmp = shotObj.transform.GetChild(i).transform.localPosition; int x = shotObj.transform.GetChild(i).GetComponent<Block>().x; int y = shotObj.transform.GetChild(i).GetComponent<Block>().y; shotObj.transform.GetChild(i).transform.localPosition = new Vector3(tmp.y, -tmp.x, 0); shotObj.transform.GetChild(i).GetComponent<Block>().x = y; shotObj.transform.GetChild(i).GetComponent<Block>().y = -x; } } } |
最後に、生成したブロックユニットが物理演算により回転しないように、CreateBlock()にfreezeRotation = trueを、重力がかからないようにuseGravity = falseに設定しておきましょう。
|
1 2 3 4 5 6 7 8 9 10 11 12 13 14 15 16 17 18 19 20 21 22 23 24 25 26 |
//ブロックを生成 GameObject CreateBlock(int typeNum) { int size = blockTypes[typeNum].shape.GetLength(0); GameObject blockUnits = new GameObject("BlockUnits"); blockUnits.tag = "blockUnits"; var rb = blockUnits.AddComponent<Rigidbody>(); rb.useGravity = false; rb.freezeRotation = true; for(int i=0;i<blockTypes[typeNum].shape.GetLength(0);i++) { for(int j=0;j<blockTypes[typeNum].shape.GetLength(1);j++) { if(blockTypes[typeNum].shape[j,i]==1) { GameObject go = Instantiate(blockObj); go.transform.parent = blockUnits.transform; go.transform.localPosition = new Vector3(i-size/2,size/2-j,0)*0.1f; //一時的にブロックの衝突判定をなくす go.GetComponent<BoxCollider>().enabled = false; } } } return blockUnits; } |
最後に、発射後に重力がかかるようにFire()内にuseGravity = trueを追加しておいてください。
|
1 2 3 4 5 6 7 8 9 10 11 12 13 14 15 16 17 18 19 20 21 22 23 24 25 |
//ブロックを発射する関数 void Fire(Vector3 startPos, Vector3 direction, GameObject target) { //ブロックのコピーを生成させないようにコメントアウト // GameObject go = Instantiate(target); //重力を設定 var rb = target.GetComponent<Rigidbody>(); rb.useGravity = true; target.transform.parent = null; //ブロックの衝突判定を許可する for (int i = 0; i < target.transform.childCount; i++) { target.transform.GetChild(i).GetComponent<BoxCollider>().enabled = true; } //ブロックの発射位置を設定 target.transform.position = startPos; //ブロックをコントローラ正面方向に放つ target.GetComponent<Rigidbody>().AddForce(direction*10f,ForceMode.Impulse); //状態を「Wait」に変更 GameStatus.status = "Wait"; } |
この状態で実行してみましょう。
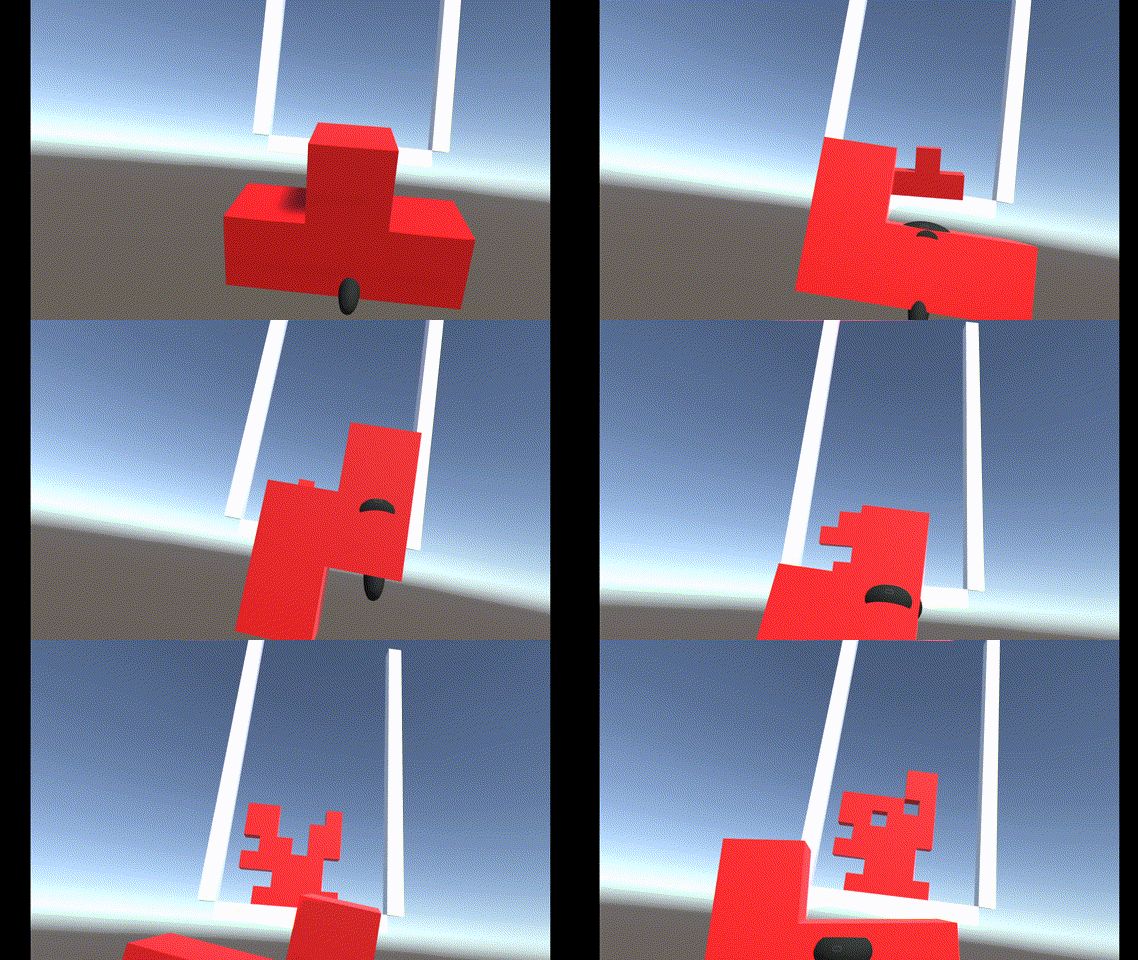
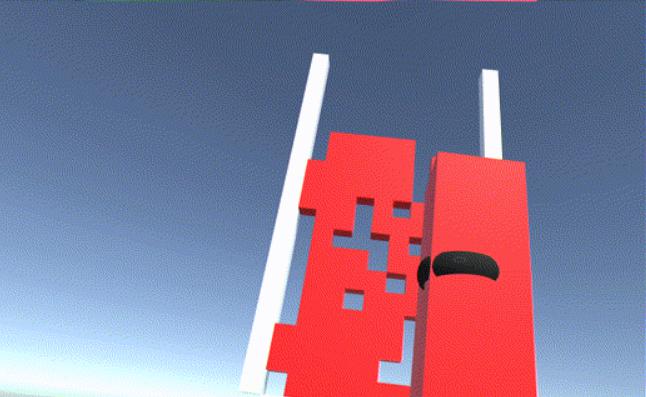
ブロックユニットが回転できる様子が確認できたでしょうか?
次回予告
次回はブロックが一列揃ったら消える処理を実装していきます。
次回の記事↓



コメント