前回の記事ではNPCの会話システム、ダイアログシステムを作成しました。
前回の記事:

今回の記事では、RPGに必須となるプレイヤーのパラメータ設定の実装、そして武器・防具・回復など各種機能を持たせるためのアイテムを作成していきます。
Scriptable Objectなどを上手に活用して再利用性の高いコードを書いていきましょう。
プレイヤーのパラメータ
まずプレイヤーのパラメータを作っていきます。
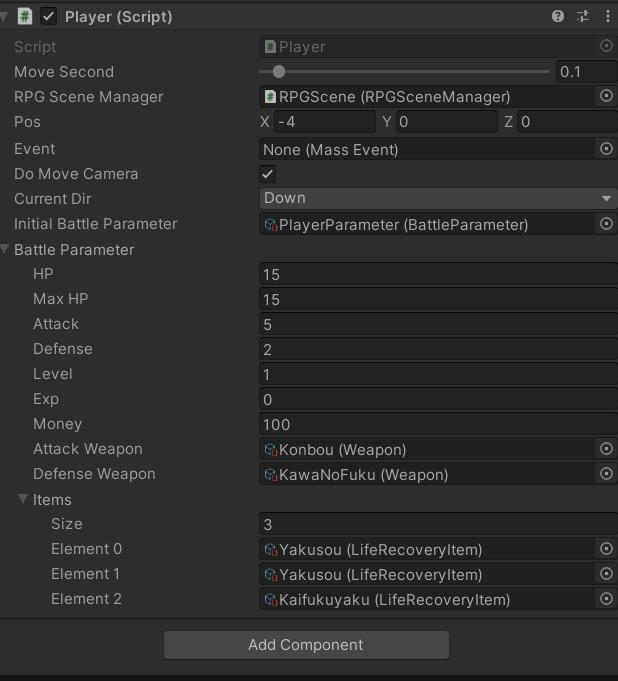
戦闘システムにおける基本パラメータとして「BattleParameter」クラスの中に定義します。
パラメータは以下のものを作っていきます。
- HP
- こうげき
- ぼうぎょ
- レベル
- けいけんち
- 所持金
- 装備品
- 保持しているアイテム
「BattleParameter」クラスは「BattleParameter.cs」というスクリプトの中に書いてください。
保存先はお好みでOKですが、記事ではAssets > Scriptsの中に保存しています。
|
1 2 3 4 5 6 7 8 9 10 11 12 13 14 15 16 17 18 19 20 21 22 23 24 25 26 27 28 29 30 31 32 33 34 35 36 37 38 39 40 41 42 43 44 45 46 47 48 |
//BattleParameter.cs using System.Collections; using System.Collections.Generic; using UnityEngine; [System.Serializable] public class BattleParameterBase { [Min(1)] public int HP; [Min(1)] public int MaxHP; [Min(1)] public int Attack; [Min(1)] public int Defense; [Min(1)] public int Level; [Min(0)] public int Exp; [Min(0)] public int Money; public Weapon AttackWeapon; public Weapon DefenseWeapon; public List<Item> Items; //上限4個までを想定して他のものを作成している。 public int AttackPower { get => Attack + (AttackWeapon != null ? AttackWeapon.Power : 0); } public int DefensePower { get => Defense + (DefenseWeapon != null ? DefenseWeapon.Power : 0); } public virtual void CopyTo(BattleParameterBase dest) { dest.HP = HP; dest.MaxHP = HP < MaxHP ? MaxHP : HP; dest.Attack = Attack; dest.Defense = Defense; dest.Level = Level; dest.Exp = Exp; dest.Money = Money; dest.AttackWeapon = AttackWeapon; dest.DefenseWeapon = DefenseWeapon; dest.Items = new List<Item>(Items.ToArray()); } } [CreateAssetMenu(menuName = "BattleParameter")] public class BattleParameter : ScriptableObject { public BattleParameterBase Data; } |
この中の装備品およびアイテムに関しては「Item」クラスとして表現し、派生させていきます。
「Item」クラスと「Weapon」クラスもそれぞれ「Item.cs」と「Weapon.cs」いうスクリプトの中に書いていきます。
保存先はお好みでOKですが、記事ではAssets > Scripts > Itemの中に保存しています。
|
1 2 3 4 5 6 7 8 9 10 11 |
//Item.cs using System.Collections; using System.Collections.Generic; using UnityEngine; public class Item : ScriptableObject { public string Name; public string Description; public int Money; } |
|
1 2 3 4 5 6 7 8 9 10 11 12 13 14 15 16 17 |
//Weapon.cs using System.Collections; using System.Collections.Generic; using UnityEngine; public enum WeaponKind { Attack, Defense, } [CreateAssetMenu(menuName = "Item/Weapon")] public class Weapon : Item { public WeaponKind Kind; public int Power; } |
「BattleParameter」クラス、「Item」クラスそしてそれらの派生クラスは「ScriptableObject」として定義しアセットで管理できるようにしています。
色々なアイテムを作成する
それでは戦闘システム用のパラメータとアイテムの作成準備ができたので、実際に色々なアイテムを作っていきましょう。
この記事では次のものを作成します。
- やくそう:LifeRecoveryItemクラス。
- かいふくやく:LifeRecoveryItemクラス。
- こんぼう:Weaponクラス。こうげき用の武器。
- てつのつるぎ:Weaponクラス。こうげき用の武器。
- ゆうしゃのつるぎ:Weaponクラス。こうげき用の武器。
- かわのふく:Weaponクラス。ぼうぎょ用の武器。
- てつのよろい:Weaponクラス。ぼうぎょ用の武器。
やくそうとかいふくやくは「Item」クラスから派生した「LifeRecoveryItem」クラスを新しく定義します。
まとめ
今回の記事では戦闘システムで使用するパラメータやアイテムを定義していきました。
これらはアセットとして扱えるようにすると便利なので、ScriptableObjectで定義しています。
実際の戦闘システムの実装は今後の記事で行っていきます。その際に今回作成したクラスを拡張していきます。
また、この講座ではテキストのみで表現するので見た目が少々地味になるかと思います。
余力がある方はアイテムに画像を指定するなどして改造するのもいいでしょう。
今回のまとめると以下のようになります。
- 戦闘システムで使用する「BattleParameter」クラスの定義
- アイテムを表す「Item」クラスの定義
- プレイヤーのプレハブに「BattleParameter」を設定
それでは次の記事に行ってみましょう!
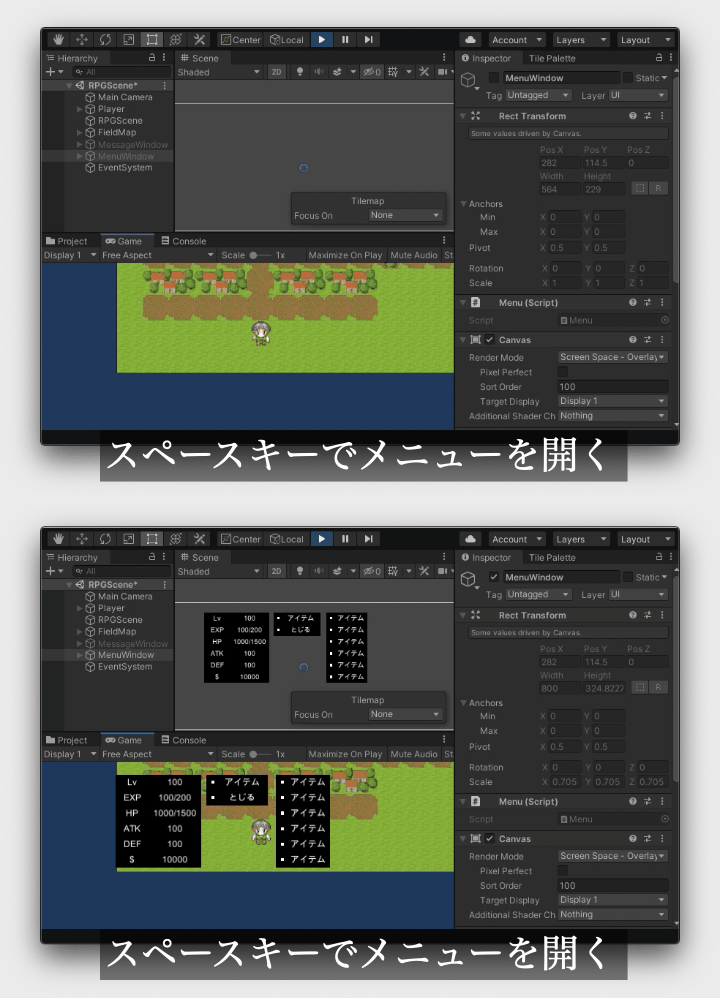
次の記事ではRPGに欠かせないメニュー画面を作成し、パラメータを確認できるようにしていきます。
次の記事:



コメント